Showing posts with label Bread Indian Bread. Show all posts

Aloo Paratha Step by Step Recipe

I have posted Aloo Paratha before. But since then, I'd like to believe that I have perfected my technique to dish out a very decent aloo paratha, especially for a South Indian!

aloo paratha step by step recipe

Potatoes have the property to inherently make aloo parathas soft so that makes our job that much easier.


Aloo Paratha Recipe
Makes 8

Ingredients:

For Dough:-
2 cups atta / whole wheat flour
Just over 1/2 cup water
1 tsp salt (or to taste)
A few drops of oil

For Aloo Filling:-
2 medium sized potatoes
1 tsp red chilli powder
1/2 tsp jeera / cumin powder
1/4 tsp ajwain / omam / carom seeds
1/2 tsp chaat masala (or garam masala)
1/2 tsp salt
A handful of coriander leaves, chopped fine

How I Made It:

1. Make the dough first. (I use my Kitchenaid now for making chapati dough and its a breeze, will share details in a later post). Mix the atta and salt well together. Add a few drops of oil and mix with fingertips. Add water little at a time and keep kneading into a soft dough. Knead for 3-4 mins and coat with some more oil (don't overdo the oil bit, very few drops will do). Set aside while making the filling.

aloo paratha step by step recipe

2. Boil and grate the potatoes. I used to mash them but that leaves small lumps here and there making it harder to roll out the aloo parathas smoothly. Grating is a better method to ensure a smooth filling. 

aloo paratha step by step recipe

3. Mix all ingredients for the filling together, making sure they are well incorporated.

The spices you add to the filling also make a large difference to the taste of your aloo parathas. There are tons of different versions here. Since I visited TH's aunt in Mumbai and watched her Marathi maid make aloo parathas (in awe, I must add!), I use her recipe for the aloo filling.


aloo paratha step by step recipe

4. Divide the dough into 8 equal parts and roll into smooth balls. Do the same with the filling. I like to make the size of the filling slightly smaller than the dough balls but you can make them into equal sizes if you wish.

aloo paratha step by step recipe

5. Flour the surface you are going to use to roll the parathas. Take one dough ball, place it on the floured surface and flatten with fingertips into a small round. I find that doing this with my fingertips makes it easier to get the surface equally thick than rolling with a rolling pin. The Vahrevah Chef agrees.

aloo paratha step by step recipe

6. Place a filling ball in the centre of the flattened dough ball.

aloo paratha step by step recipe

7. Gather the dough ball around the filling, sealing it gently on top.

aloo paratha step by step recipe

8. Make it into a momo-like ball, making sure that the dough covers the filling ball completely.

aloo paratha step by step recipe

9. You can pinch off the extra bit of dough on top. I sometimes just flatten it against the top and continue.

aloo paratha step by step recipe

10. Again, using your fingertips, gently press the filled dough ball into a small circle, making sure the thickness is equal on all sides.

In case you are wondering, there was no tripod used in any of the pics. I clicked with my left hand. The things food blogging teaches you -  mind-boggling!

aloo paratha step by step recipe

11. Then use your rolling pin to flatten it out to as thick or thin as you want. I keep it slightly thicker than chapatis. And before you ask, I still can't make a perfectly round chapati / paratha, so help me God. Oh, you weren't going to ask..

Ok moving on.

aloo paratha step by step recipe

12. Transfer rolled paratha to a hot griddle. Make sure you tap out the excess flour used in rolling. I didn't take enough for this paratha so ignore the excessive white patches.

aloo paratha step by step recipe

13. Cook until both sides are golden brown. When done, brush with some ghee / butter or oil and transfer to a plate. I use my olive oil spray while making chapatis / parathas. You can spray on the oil at the end and it creates zero mess. Of course if you want to use ghee, then the mess doesn't matter, only the flavour does!
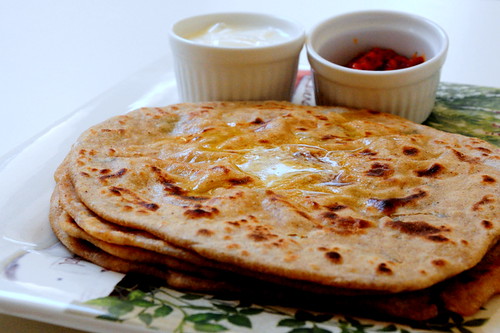
aloo paratha step by step recipe

That's it! Serve hot with a pat of butter on top, some curd and pickles. 

Spiced Methi Paratha Recipe

I love fresh methi or fenugreek leaves for the slight bitterness they add to any dish. Methi dal is the usual favourite for TH and me. Each time I go to Little India, I scout around for a bunch. They are not very easy to find so when I do get them, I wrack my brain on what to make with it.

Methi Paratha was the outcome one such weekend. I checked out many recipes online and a couple of cookbooks have. There are two ways to make methi paratha:

1. Make a spiced stuffing like you do for aloo paratha or gobi paratha and make methi parathas the same way.
2. Chop up the leaves and add them to the atta while making the dough and make parathas as normal.


I decided to go midway between the two options.

Methi Paratha Recipe
Makes: 6 parathas

What I Used:

4 cups packed fresh methi / fenugreek leaves, cleaned and chopped fine
2 green chillies, chopped fine
1" piece ginger, grated
1/2 tsp powdered jeera / cumin seeds
1 tsp oil
Salt to taste

5 cups atta / wheat flour
Water as needed
Ghee or butter to make the parathas

How I Made It:

1. Heat the oil and add the jeera. After about 5 seconds, add the ginger, methi leaves, green chillies and some salt. Stir until the leaves start to wilt and get lightly toasted. Don't cook it for more than 7 mins. Let this mixture cool.

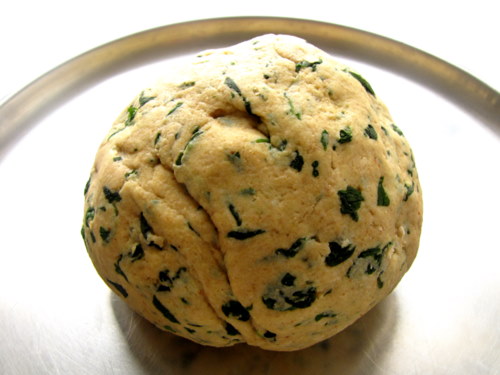
2. Add the spiced methi mixture to the atta, more salt if needed and enough water to make a soft, pliable dough. Divide into 6 equal-sized balls. Roll out each and cook on a tawa or griddle until both sides are golden brown.

3. After removing from fire, pat ghee or butter on both side and keep covered to maintain softness.


Serve warm with mango pickle and curds.

Nan On Tawa or Tawa Naan Recipe - Step by Step

Naan or Nan is TH's favourite bread. That and palak paneer are his absolute favourite dishes to order in a restaurant. I recently got the book Artisan Bread in 5 Minutes a Day from the library and got totally smitten by it.  I don't have most of the stuff that they have mentioned as requirements, like pizza peel and oven thermometer and baking stone and even a proper oven to do broiler method of baking in but this, this Tawa Nan I could try.

The dough is the master Boule recipe mentioned in Artisan Bread in 5 Minutes a Day. I halved the recipe since I only wanted to use it for Nan the first time around. 
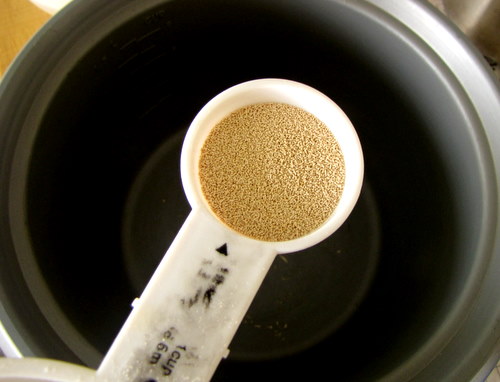
Here's what we need first - 3/4 tbsp of active dry yeast. Please make sure that its fresh and not past the expiration date. Why do I mention this explicitly? Err... no particular reason. Let's move on. 


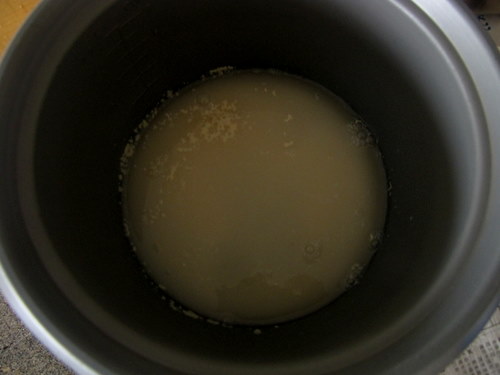
Throw the yeast in a bowl with 1.5 cups of lukewarm water. I warmed my water in the microwave for a minute on medium-high powder. The recipe says no need to dissolve the yeast or anything but I secretly made sure it is dissolved. You see, nothing wrong in being extra careful. 

Yes, I check atleast twice if the front door is locked before I go to bed. Why do you ask?

Btw, the below picture is not pretty. 


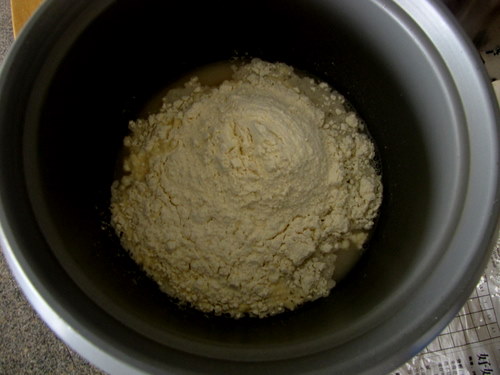
Told ya! Just add 3 and 1/4 cups of all purpose flour and a generous pinch of salt to it and the prettiness factor increases exponentially. 

See? 


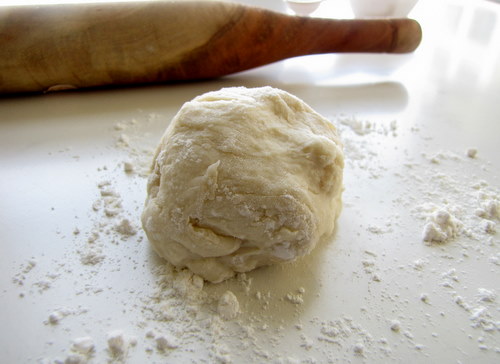
Ok, now bring the mixture together with your fingers. No need to knead. Heh. You'll be left with a sticky mass of dough. Just leave it covered somewhere for about 20-30 mins. 


I left it alone for around 20 minutes and it almost doubled. The recipe says not to worry about doubling, etc so I didn't. I always listen to what cookbooks say. Ok, almost always. 


The dough will be sticky and very elastic. Dig your hand in some flour and tear off a peach-sized piece. 


Lay it on a floured surface (my 'surface' is this). 


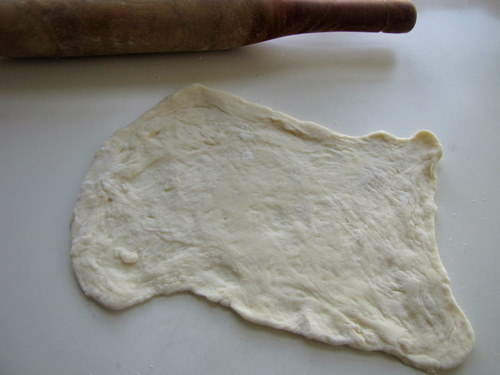
With the use of your hands and/ or your rolling pin, stretch out the dough till you form a nan shaped... err.. thing. Mine is square cuz TH wanted square naans. What? You don't believe me? Its true!


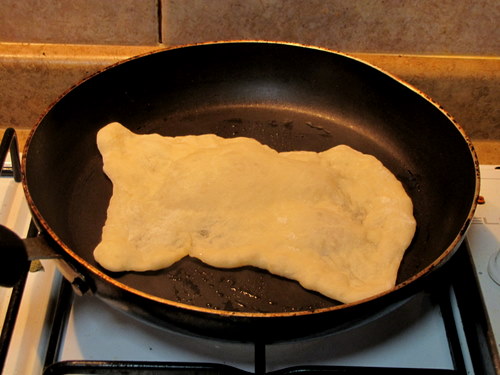
Heat a skillet on high heat, brush on some ghee or oil, lower the heat to medium and lay the nan on carefully. 


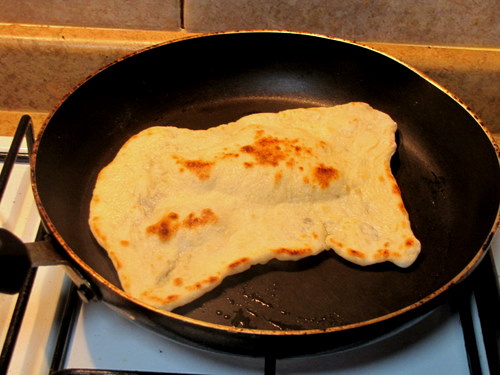
Flip over in about 2 mins when the first side starts browning. 


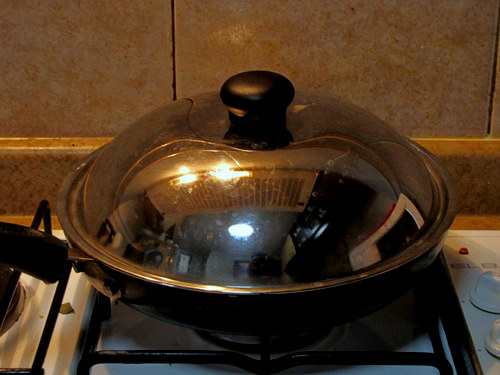
Cook closed for 30 seconds to a minute now, depending on the thickness of your nan, which shouldn't be too much, btw. 


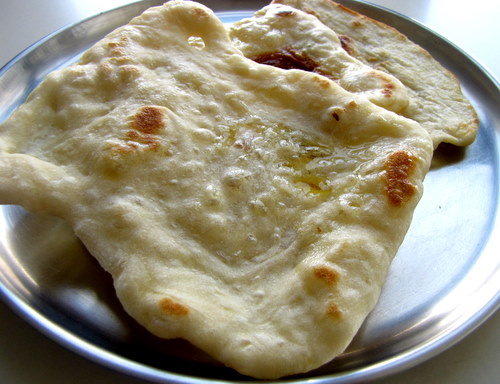
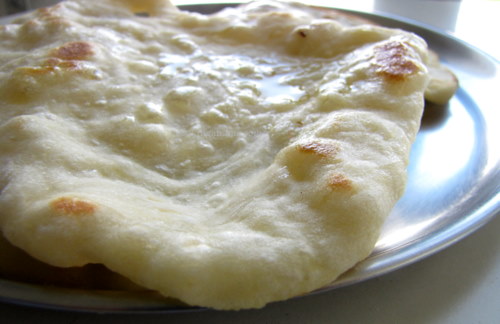
That's it! Yummy, spongy, soft nans are now ready. 


The texture and taste was awesome and we loved it. Just make sure to have it when still hot otherwise the nan may turn a bit rubbery. That's to be expected right, even the ones baked in tandoors that we get in restaurants turn all hard on us if we don't eat it immediately. 


Reminds me of pizza base. Ahh.. pizza base from scratch! That's what I am making next. 

Here's the recipe, all in one place. 

Tawa Naan / Nan Recipe

What I Used:

1.5 cups lukewarm water
3/4 tbsp yeast
3 and 1/4 cups of all purpose flour
A generous pinch of salt

How I Made It:

1. Dissolve the yeast in the water. Add in salt and the flour, incorporate well until a sticky dough is formed. No kneading necessary. 

2. Set aside covered for 20-30 mins. 

3. Tear or cut off with a serrated knife peach-sized amounts and transfer to a floured surface. Shape into oblong nans with help of rolling pin if necessary. Make sure there are no holes in the nan once you are done rolling it out. 

4. Heat a skillet on high heat, brush on some ghee or oil, lower the heat to medium and lay the nan on carefully.

5. Flip over in about 2 mins when the first side starts browning. 

6. Cook closed for 30 seconds to a minute now, depending on the thickness of your nan. 

Serve HOT. 

Banana Bread Step-by-Step Recipe

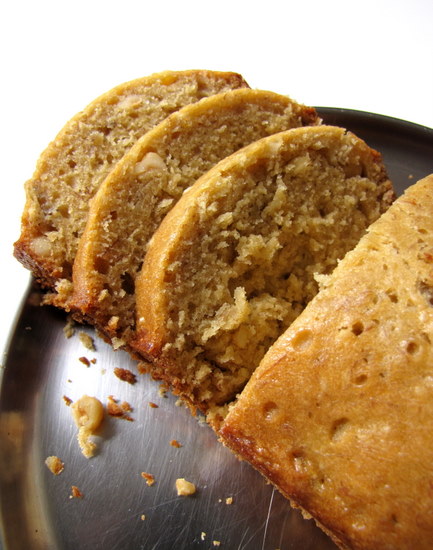
What's all the fuss about, you ask? Well, you have to try it to know why. I still don't know why this is called 'bread' instead of cake but I do know that its actually somewhere in between and tastes awesome toasted.

This is also a fool-proof recipe. Really. Just throw some things together in a bowl, whisk it and bake it to get this awesome loaf full of a yummy banana flavour.

We rarely buy more than 4 bananas at at a time so mine is a one banana banana bread recipe. Is that too many bananas in one sentence yet? ;)
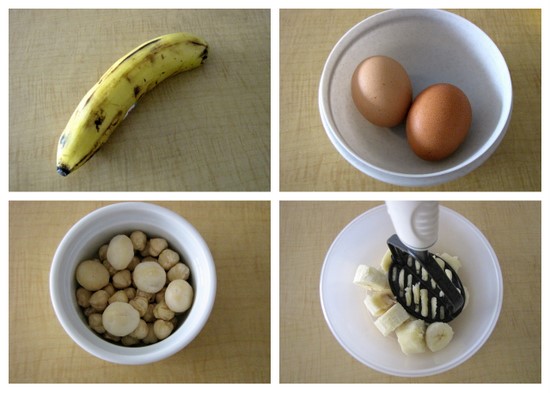
Here's some of the star cast. A banana (because this is a one banana banana bread recipe, remember? Ok, I'll stop!), 2 eggs, nuts - walnuts being the most popular but I added what I had in hand, a handful of hazelnuts and a couple of macademia nuts which somehow made their way into my pantry and I have no idea from where.

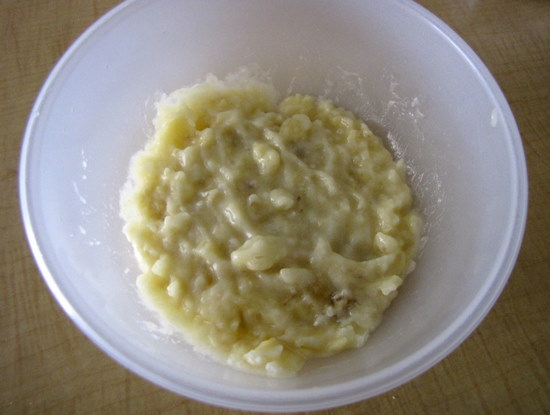
Step one - mash the banana up. I used a masher because something about getting squishy banana pieces on my fingers turns me off.

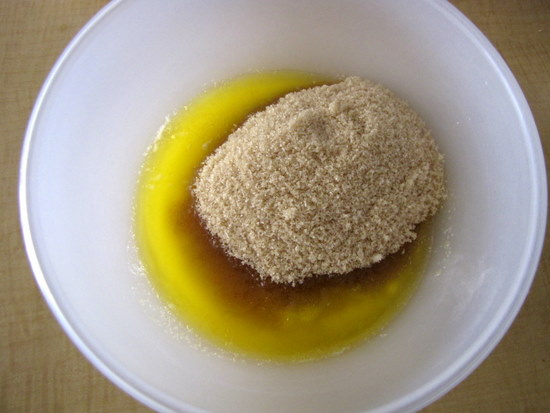
Next, whisk together 1/2 cup butter at room temperature (ignore that I melted it, I always do that 'cuz I forget to put the butter out but please don't be like me) and 3/4 cup sugar. I used brown sugar but white is ideal.

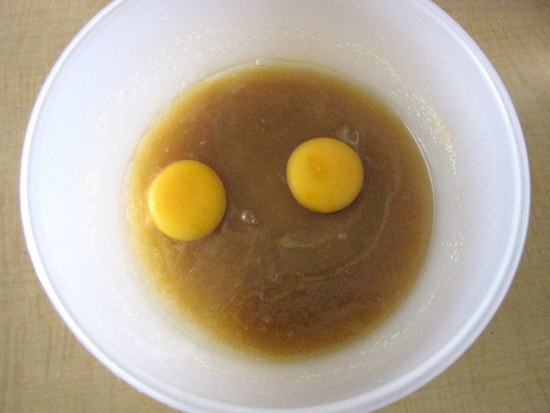
Once the sugar has completed blended in with the butter, thrown in 2 eggs. You don't have to beat anything to death or make things fluffy, just combining well will do. So combine the eggs well.

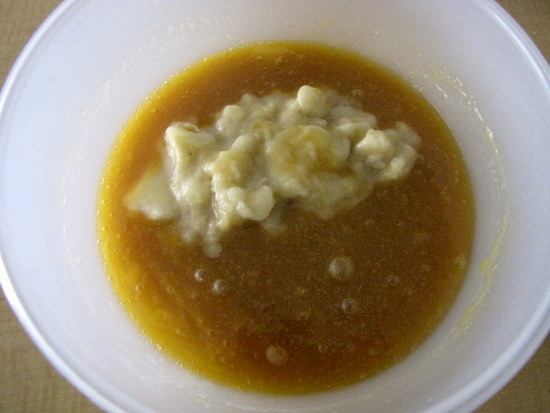
Now throw in the mashed banana. Since that's not a very pretty picture, I am going to quickly move on.

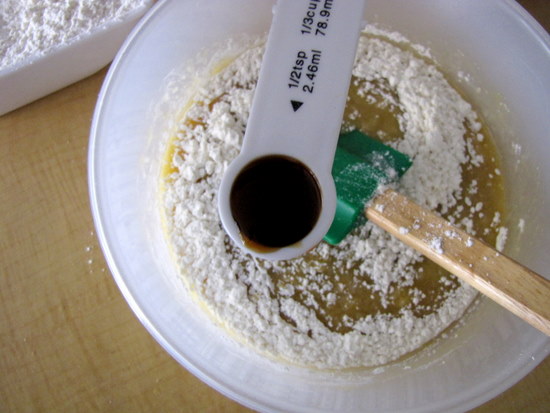
Before you add the flour, thrown in 1/2 tsp of vanilla extract. I spent a bomb on my vanilla extract, the more authentic (and so more expensive) stuff actually tastes infinitely better, so you should go crazy and do the same.

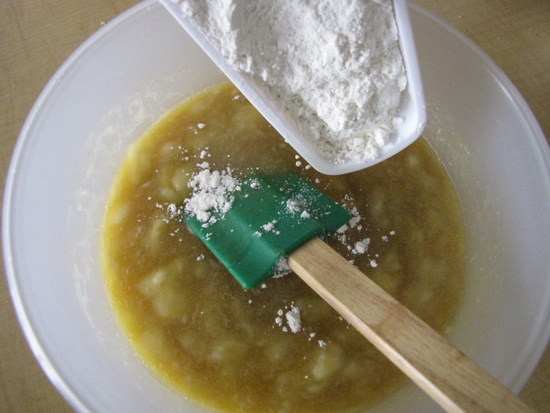
Now, add 1 cup all purpose flour / maida and a pinch of salt. Some recipes call for baking powder. I didn't add any and it still came out nice and fluffy so stay with me here, ok? Combine the flour well into the mixture. Again, no excessive beating please.

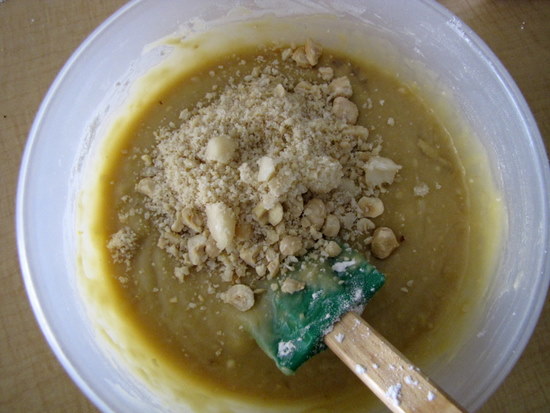
The final addition - about 3/4 cup of roughly chopped nuts. I gave them a couple of twists in my mixer so they are all of different sizes but that's ok. Its banana bread, anything goes. By the way, nuts are optional.

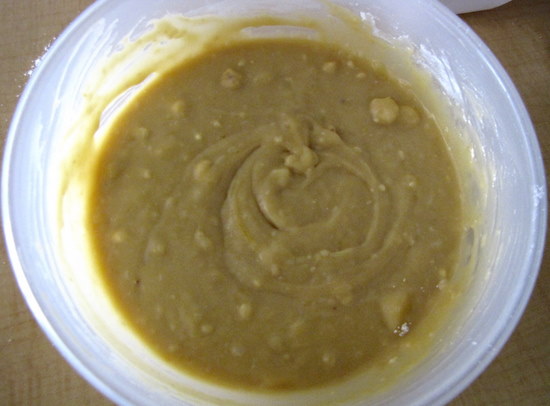
Combine combine combine.

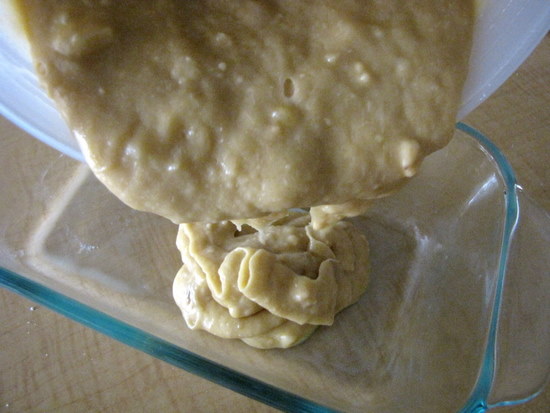
Pour into a greased loaf pan.

Bake in a 350F/180C pre-heated oven for about 40-50 mins, until a skewer inserted into the loaf comes out clean.
Let it sit in the loaf pan and cool completely. Then transfer to a plate/cake board and cut into 1"thick slices. Why 1"? Because I say so!

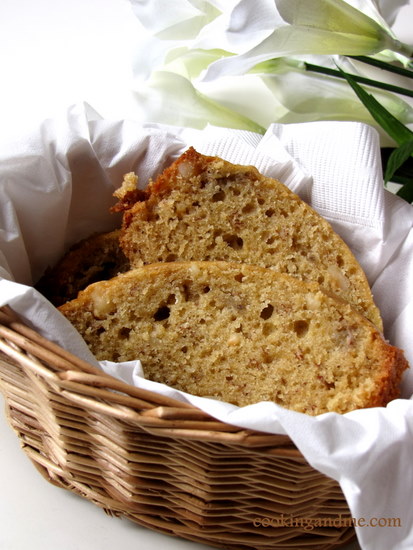
One banana banana breads are very photogenic so go ahead and take some nice shots. Actually, any banana bread should be photogenic so don't get discouraged by the one-banana theory.

Thanks for enduring my craziness. Now, here's the recipe all in one place.
One Banana Banana Bread Recipe
Makes one medium-sized loaf
Source - took bits and pieces from countless banana bread recipes

What I Used:

1 ripe banana
1/2 cup butter
3/4 cup sugar, I may add slightly less next time
2 eggs
1 cup all-purpose flour/maida
1/2-3/4 cup nuts of your choice
1/2 tsp vanilla extract
A pinch of salt

How I Made It:

1. Mash the banana well and set aside.

2. Cream the butter and sugar together until soft and the sugar has blended well. Add the eggs and beat more until well combined.

3. Add the mashed banana and mix well. Then add the vanilla extract and mix again.

4. Next, add the flour and a pinch of salt. Combine without beating, to form the dough without any lumps.

5. Transfer to a greased loaf pan and bake in a pre-heated oven at 350F/180C for 40-50 mins until a skewer inserted into the loaf comes out clean.

6. Cool completely before cutting into slices.
You can freeze banana bread for up to a month. Just leave it in the fridge overnight to defrost. Also tastes great toasted, with a pat of butter.

Simple White Bread - Step By Step Recipe

I first made bread when I was in Hyderabad. I'd tried no-knead bread and I used my OTG to bake it in. I didn't have a proper bread tray or any idea whatsoever what on earth I was doing! Yet, it came out fine and most importantly, edible.

Baking bread can be a bit daunting, especially for beginners. But something remarkable about it is the use of minimum ingredients, ones that are available all around the world! The technique and other stuff can be perfected in time but the idea is to take the first step.

Everyone loved my Butterscotch Blondies Step by Step Recipe and gave good feedback saying since it was step by step, it made it look less daunting. A lot of people tried it even though butterscotch chips was not easily available where they live. Many of you wrote to me with creative substitutes you used and some even sent me pictures. That was probably one of the most encouraging set of comments I have ever received.

Anyway, after my first attempt at bread, I tried agian about a month ago, but this time I decided to go for the normal bread, the one where you need to knead it. The good part is, the ingredients are very very simple and easy to get everywhere.

I hope the step by step recipe makes it less scary for people to take the first step :) If you need to skip the pictures, please scroll to the end of the post for the complete recipe, in one place.

Simple White Bread - Step By Step Recipe

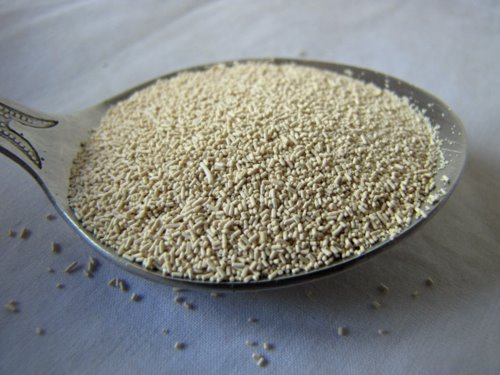
Make sure that you get some good quality active dry yeast.

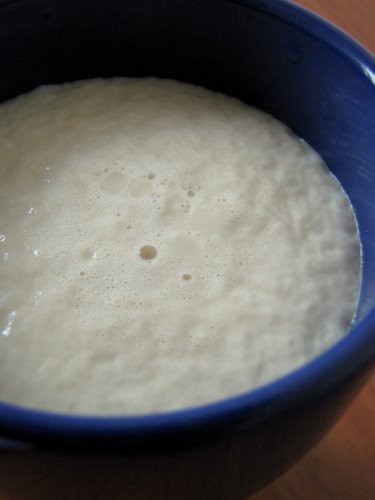
1. Mix together 1/2 tbsp active dry yeast (1.5 tsp), 1 tbsp sugar and 1/2 cup warm water. Let it stand for 10 - 12 mins until the mixture starts to froth, like so.

If your yeast is not good enough or is nearing its expiry date, it won't froth much so that should be a good indicator.

Also, this mixture doesn't smell so good so if your husband or anyone else at home comes around saying "what the heck is that smell? what on earth are you making?", don't let that deter you. We can get back at them with the heavenly smell of baking bread very soon.

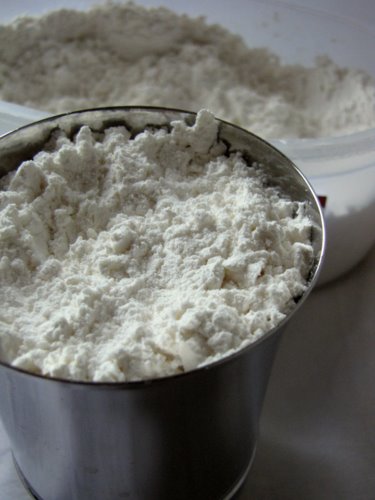
2. Measure out your flour next. You will need 2 cups of maida or all - purpose flour.

You can substitute half of this with atta or whole wheat flour if you want. Since atta is coarser than whole wheat flour, or so she says, run it through your mixer once before using it. (Thanks Nandu!)

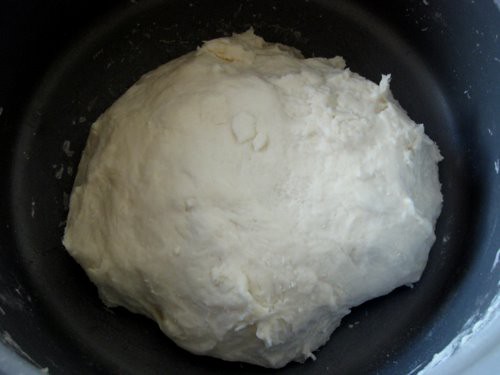
3. Mix the flour gently into the yeast mixture with about 1/2 tsp salt, and knead until it all comes together. This dough will feel unbelievably silky. Sprinkle some flour while kneading it gets too sticky.

Ok, it may not look so silky or even smooth because I suck at shaping it out nicely and making it look pretty. But this is good enough, you will see. Make sure you rub in some olive oil (or butter) on the sides of the bowl to prevent the dough from sticking on too much.

Let this sit for an hour. You can cover it with some cling wrap. I didn't have any, so I cut up a thin plastic bag and used that instead.

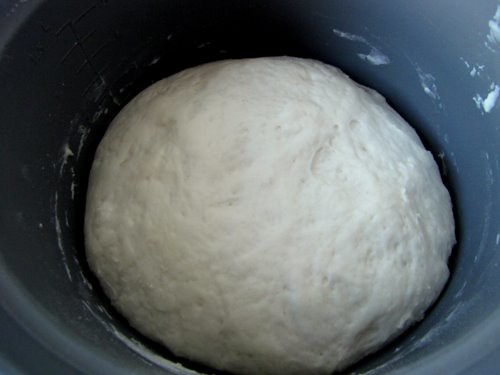
5. After an hour, you will see that the dough has risen to almost double its size and that it looks quite uniform and pretty, unlike the previous picture. Always let nature (or yeast, in this case) do its own thing.

Note: its still not going to smell so good but like I said, ignore and keep going.

6. The next step is to knead down the dough a bit, on a floured surface.

If you are anything like me, you will be a bit tired by now, with all the measuring and the waiting and the photography. So call in your husband, or anyone else you can boss into helping you knead. You don't need to knead your palms off, just be slow and firm.

Make sure you interfere them while kneading and ask them to pose for a few pics. Its all in the game of bread-making.

PS: If you have a bread-making machine, then you fall into the category of people who I am jealous of, so don't rub it in by commenting and gloating about it, please.

7. After about 10 minutes of kneading, transfer the dough to a loaf tray that's dabbed with olive oil or butter on all sides. Don't go overboard with the dabbing though.

I used a pyrex glass loaf tray, and I blame it for this ugly picture. Cover this again with cling wrap / cut up plastic bag and let it sit for another hour.

8. It will rise again to almost double its size, like so.

If you touch the top of the dough, it will be s-o-f-t. Resist temptation to punch it down and play with it. Its time to bake your bread!

9. Pre-heat oven to 200 C / 390 F and bake for about 20 mins. The crust will turn a lovely golden brown.

This, my friends, will be the best smelling thing you have ever made! Trust me!

My crust got a little dry, but you can dab some butter when it just comes out of the oven. I didn't, because I was too busy taking pictures!

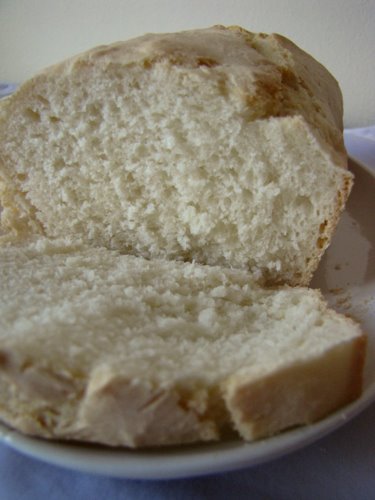
10. Cut it into slices and store in an air-tight container for upto 3 days. I got about 9 slices so it didn't last that long.


Here is the recipe again, all in one place.
Simple White Bread Recipe

What I Used:

2 cups all-purpose flour / maida
1/2 tbsp (1.5 tsp) yeast
1 tbsp sugar
1/2 cup warm water
1/2 tsp Salt
Olive oil or butter to grease

How I Made It:

1. Mix sugar, warm water and yeast together and leave aside for 10-12 mins until the mixture froths.

2. Mix in the flour and salt and knead gently. Place in a greased bowl covered with cling wrap for an hour, until the dough doubles in size.

3. Knead on a floured surface for 10 mins and transfer to a greased loaf tin. Cover with cling wrap and let it rise for another 1 hour. It will again double in size.

4. Bake in a pre-heated oven at 200 C / 390 F for about 20 mins until the crust turns golden brown.

5. Slice and enjoy!
We had this with some home-made hummus when it was still warm, and let me tell you, the feeling that I created all this, was awesome!

Freshly baked white bread with hummus

Try it and drop me a line, won't you? 

This goes to Susan's Yeastspotting, a weekly event that showcases all the yeast-y goodness out there!