Showing posts with label Maida / Flour. Show all posts

No-Fail Basic Pancakes Recipe

Pancakes may seem like the easiest things to make but from experience, I can tell you that.. its not! Sometimes, my pancake batter is too thick, or too egg-y (bleghh), or too thin.. and then the pancakes are not perfect.

Considering that I dive into the pancakes tray whenever I have breakfast buffet in a hotel, AND considering I have this here food blog and stuff, it would be ridiculous if I didn't have a decent (and easy) pancake recipe to share.

I knew "this is it" when I saw this post on Cheesecake for all. And I was right. Sometimes you know these things you know.

Basic Mini Pancakes Recipe

Basic Pancakes Recipe
Makes 12-14 mini pancakes


Ingredients:
1 cup all-purpose flour
1 tbsp white sugar
1 tsp baking powder
1/2 teaspoon baking soda
1/4 teaspoon salt
1 cup milk
1 egg
2 tablespoons oil + extra for greasing the tawa/griddle

How I Made It:

1. Beat together - egg, milk and oil.

2. In a separate bowl, combine-  flour, sugar, baking powder, baking soda and salt. Make a well in the centre and pour in the egg mixture.

3. Beat lightly until smooth (meaning, no lumps).

4. Pour about 2 tbsp of batter on a hot and lightly oiled griddle and let it spread naturally. After a minute, flip to the other side. Both sides should be golden brown so adjust heat accordingly as you cook them.

Easy Basic Pancakes Recipe

Serve warm with a dollop of butter or maple syrup or both.

Ethakka Appam / Pazham Pori / Banana Fritters - A Kerala Snack Recipe

Ethakka appam / pazham pori, whatever its called, holds a special place in the cuisine of Kerala. Its a quintessential Malayali snack and you get to buy it in every restaurant, roadside snack carts, trains, hostel canteens, college cafes, you name it!
Ethakka Appam Recipe

Yes, its deep friend, yes, its coated in all purpose flour, but its worth it and I want you to take my word on this.

Ethakka Appam Recipe

The bananas used for Ethakka Appam is Ethappazham (the raw version of which, Ethakka, is used to make the famous Kerala banana chips!). It won't taste the same or as good if you use any other kind of banana. Its also called Nenthram Pazham but I can't seem to find a more representative English translation for Nenthram pazham except plaintain.

On to the how-to now.

Ethakka Appam / Pazham Pori Recipe
Serves 2 : About 8-10 pieces

Ingredients
1 Ethapazham / Nentham pazham / Ripe plaintain (the riper and blacker the skin, the better)
1 cup all purpose flour or maida
1 tsp sugar
1/4 tsp baking soda
1/2 salt
A pinch of turmeric powder
About 3/4 cup water (more or less)
Coconut oil to deep fry

How I Made It:

Ethakka Appam

1. Place the flour in a wide bowl.

Ethakka Appam Recipe

2. Add sugar, salt and baking soda. I used brown sugar but white sugar works perfect too.

Ethakka Appam Recipe

3. Add about 1/2 cup water and adjust as you go, to make a batter that's slightly more watery than dosa batter. It shouldn't be too thin, otherwise, the appams will be too oily.

Ethakka Appam Recipe

4. Add in a pinch of turmeric powder. This is only meant for the colour bit and doesn't change the taste or flavour in any way.

Some people add jeera to ethakka appam. I personally don't like biting into them but feel free to add it in if you want.

Ethakka Appam Recipe

5. Cut the plaintain into half and then slice each half midway vertically. Further slice each of the quarters into 2-3 thin pieces. Dunk these into the batter.

Ethakka Appam Recipe

6. Heat the coconut oil until its all bubbly. You have to use coconut oil for the authentic taste. Anything else is a blasphemy so don't tell me if you used vegetable oil or *shudder* olive oil.

I used a super small kadai so that I need only very little oil and that reduces wastage.

Ethakka Appam Recipe

7. When the oil is just short of smoking hot, add in the banana pieces coated with the batter.

Ethakka Appam Frying

8. Fry until golden brown and drain on paper napkins.

Ethakka Appam Kerala Banana Fritters

9. Serve warm with tea.

The appams get soggy and the coating gets chewy and soft once cold so this is best served warm. But when I was a kid, I used to wait till it got cold and chewy :)

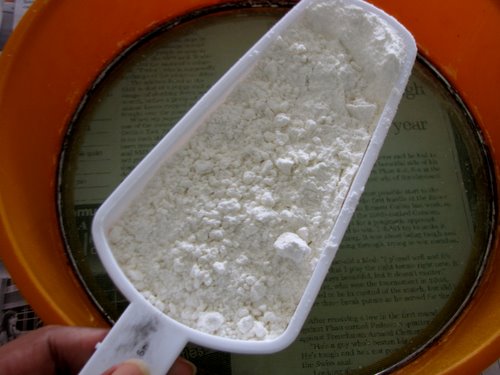
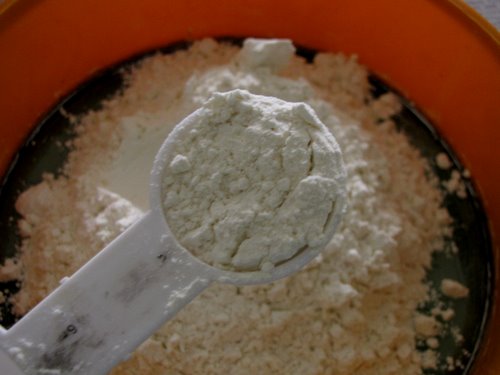
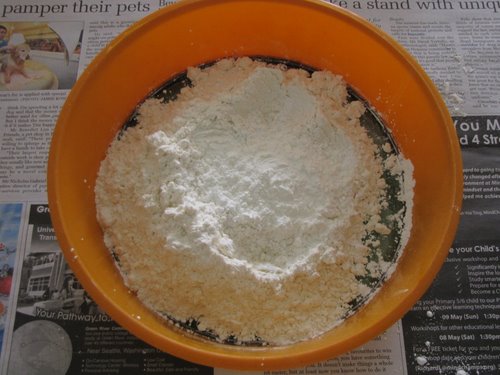
How To Make Cake Flour

Some cake recipes call for cake flour instead of all purpose flour or maida, which is what we are all used to. So what is cake flour?

I have realised over the past few months that all these fancy-shmancy things they sell in specialty stores are very easy to make on our own (yes, I we can also make cinnamon sugar at home, trust me). Also, if you buy one pack of cake flour, you are left with the leftover and then need to go looking for more recipes that require cake flour.

Anyway, here's you can make your own cake flour:

 
Measure out 1 cup of maida or all purpose flour

Remove 2 tbsp of flour from it


Add 2 tbsp of cornflour / cornstarch instead


Sift well (atleast 4 times)

Store in a container or use immediately for your cake recipe!

How easy was that?

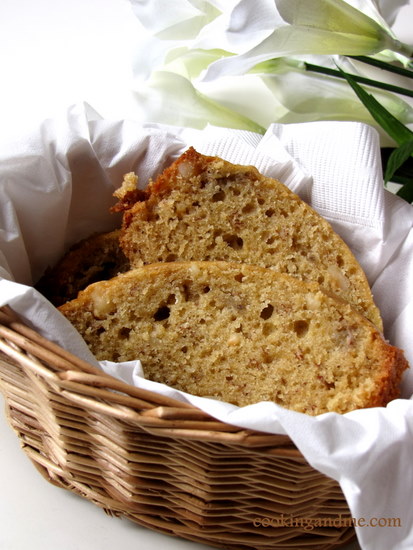
Banana Bread Step-by-Step Recipe

What's all the fuss about, you ask? Well, you have to try it to know why. I still don't know why this is called 'bread' instead of cake but I do know that its actually somewhere in between and tastes awesome toasted.

This is also a fool-proof recipe. Really. Just throw some things together in a bowl, whisk it and bake it to get this awesome loaf full of a yummy banana flavour.

We rarely buy more than 4 bananas at at a time so mine is a one banana banana bread recipe. Is that too many bananas in one sentence yet? ;)
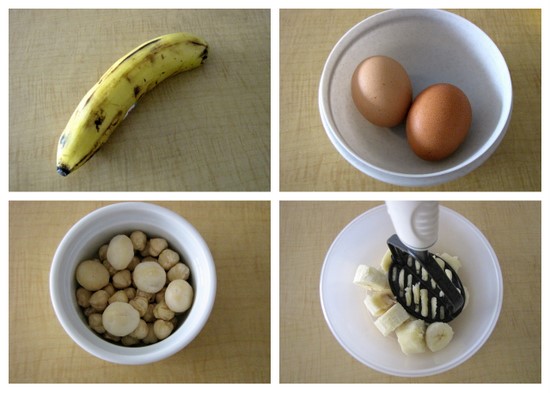
Here's some of the star cast. A banana (because this is a one banana banana bread recipe, remember? Ok, I'll stop!), 2 eggs, nuts - walnuts being the most popular but I added what I had in hand, a handful of hazelnuts and a couple of macademia nuts which somehow made their way into my pantry and I have no idea from where.

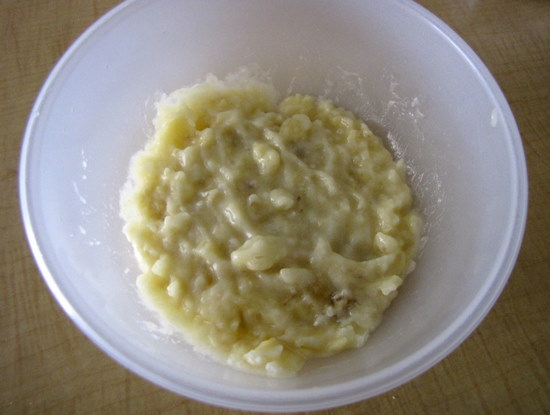
Step one - mash the banana up. I used a masher because something about getting squishy banana pieces on my fingers turns me off.

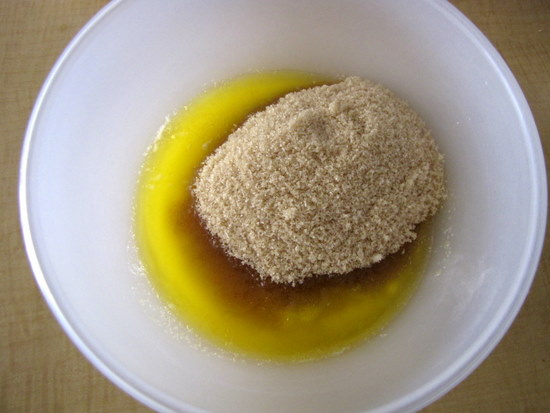
Next, whisk together 1/2 cup butter at room temperature (ignore that I melted it, I always do that 'cuz I forget to put the butter out but please don't be like me) and 3/4 cup sugar. I used brown sugar but white is ideal.

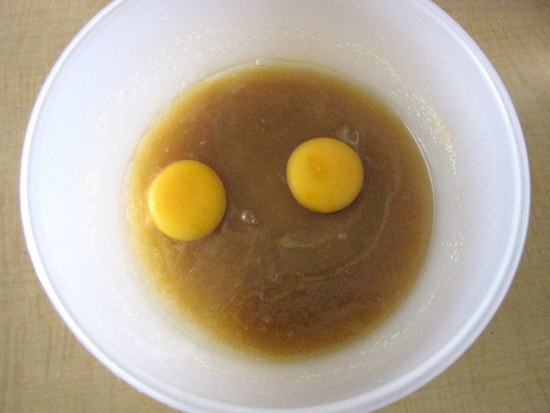
Once the sugar has completed blended in with the butter, thrown in 2 eggs. You don't have to beat anything to death or make things fluffy, just combining well will do. So combine the eggs well.

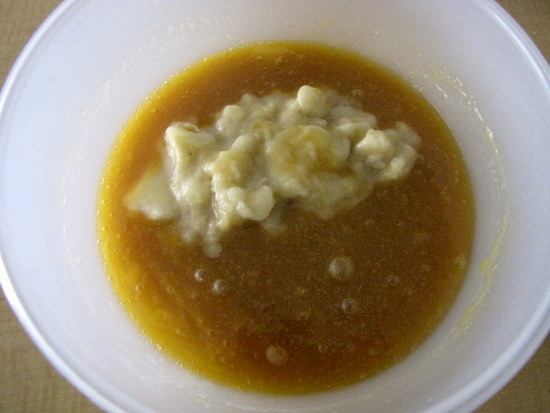
Now throw in the mashed banana. Since that's not a very pretty picture, I am going to quickly move on.

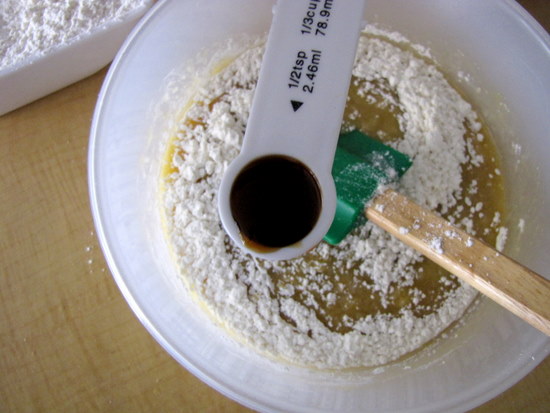
Before you add the flour, thrown in 1/2 tsp of vanilla extract. I spent a bomb on my vanilla extract, the more authentic (and so more expensive) stuff actually tastes infinitely better, so you should go crazy and do the same.

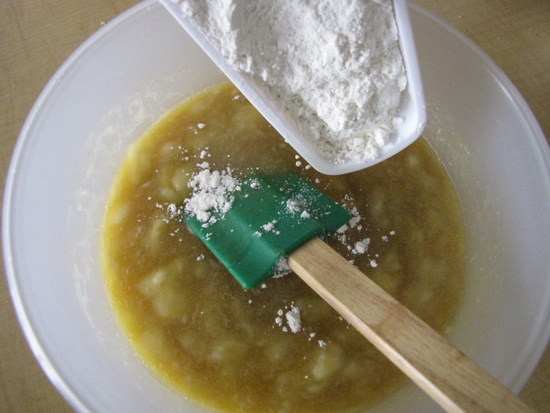
Now, add 1 cup all purpose flour / maida and a pinch of salt. Some recipes call for baking powder. I didn't add any and it still came out nice and fluffy so stay with me here, ok? Combine the flour well into the mixture. Again, no excessive beating please.

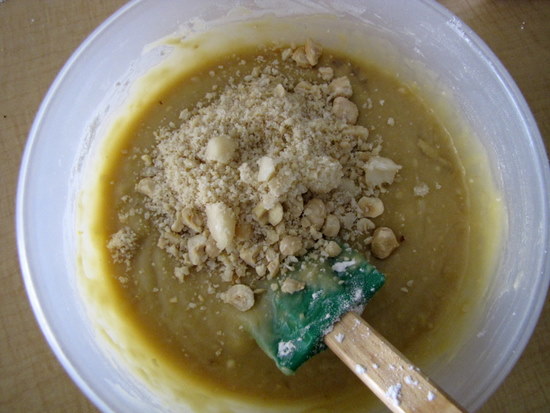
The final addition - about 3/4 cup of roughly chopped nuts. I gave them a couple of twists in my mixer so they are all of different sizes but that's ok. Its banana bread, anything goes. By the way, nuts are optional.

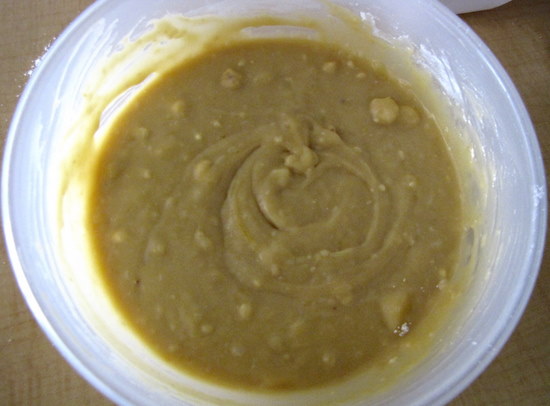
Combine combine combine.

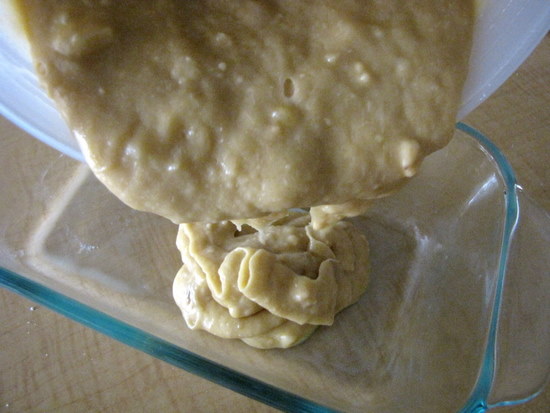
Pour into a greased loaf pan.

Bake in a 350F/180C pre-heated oven for about 40-50 mins, until a skewer inserted into the loaf comes out clean.
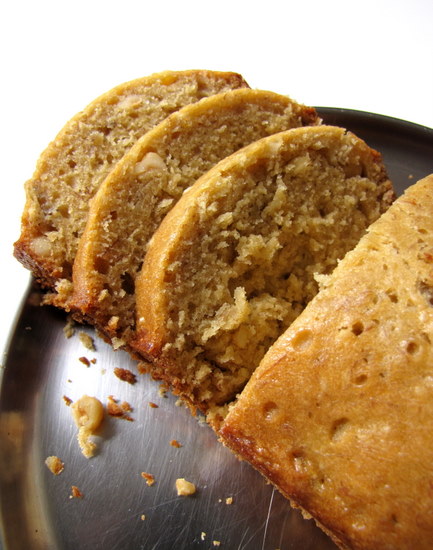
Let it sit in the loaf pan and cool completely. Then transfer to a plate/cake board and cut into 1"thick slices. Why 1"? Because I say so!

One banana banana breads are very photogenic so go ahead and take some nice shots. Actually, any banana bread should be photogenic so don't get discouraged by the one-banana theory.

Thanks for enduring my craziness. Now, here's the recipe all in one place.
One Banana Banana Bread Recipe
Makes one medium-sized loaf
Source - took bits and pieces from countless banana bread recipes

What I Used:

1 ripe banana
1/2 cup butter
3/4 cup sugar, I may add slightly less next time
2 eggs
1 cup all-purpose flour/maida
1/2-3/4 cup nuts of your choice
1/2 tsp vanilla extract
A pinch of salt

How I Made It:

1. Mash the banana well and set aside.

2. Cream the butter and sugar together until soft and the sugar has blended well. Add the eggs and beat more until well combined.

3. Add the mashed banana and mix well. Then add the vanilla extract and mix again.

4. Next, add the flour and a pinch of salt. Combine without beating, to form the dough without any lumps.

5. Transfer to a greased loaf pan and bake in a pre-heated oven at 350F/180C for 40-50 mins until a skewer inserted into the loaf comes out clean.

6. Cool completely before cutting into slices.
You can freeze banana bread for up to a month. Just leave it in the fridge overnight to defrost. Also tastes great toasted, with a pat of butter.

Spiral Cookies : Step-by-Step Recipe

Anyone who saw these on SJ's blog and wanted to make them, raise your hands.

Yep, that's what I thought.

They are so pretty and look so homely and nice right? That's what actually got me started on this quite messy yet great decision to try them myself.

Disclaimer: I am not very artistic. I believe artistic people can make food look nicer and this is especially true for desserts and some bakes.

That really didn't discourage me though. I have step-by-step pictures and although my cookies didn't turn out as smooth and spirally as SJ's, they still wow-ed a lot of a people and tasted great.

We need to prepare 2 batches of dough and since each require 1/2 an egg yolk, let's get that out of the way.
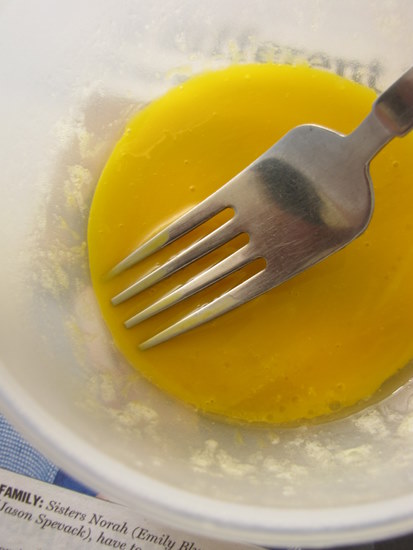
Lightly beat an egg yolk and set aside. We will later halve this.

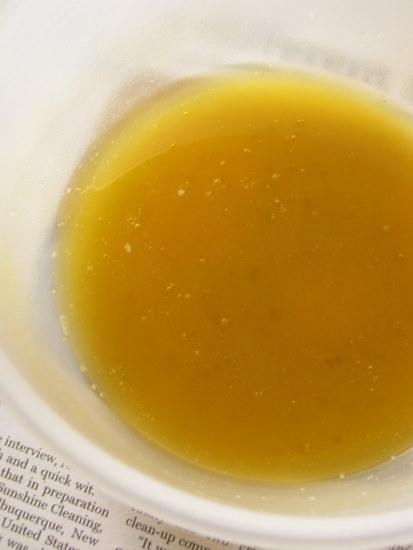
Melt (or bring to room temperature) 1/2 cup unsalted butter and add 1/2 cup sugar to that. Beat until well combined.

Add 4 drops of vanilla essence to this along with a pinch of salt. Mix well. Now add half the beaten egg yolk and 1.5 cups of all-purpose flour.

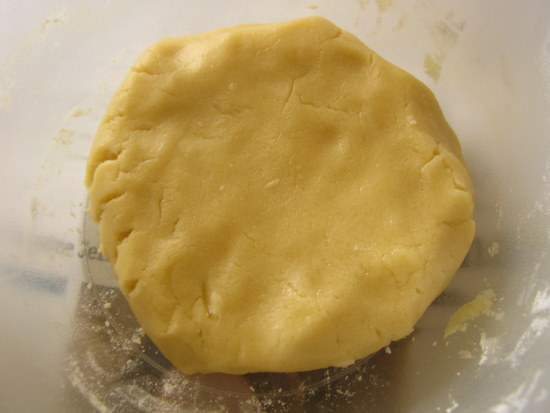
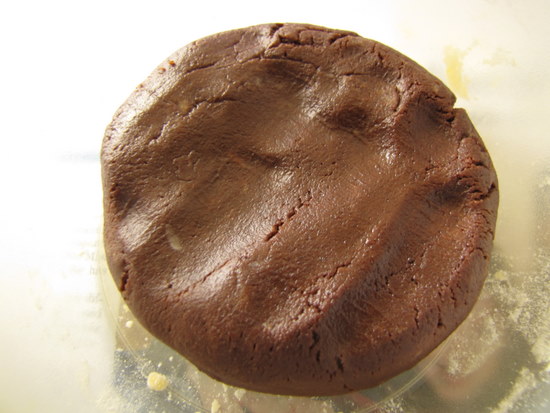
Mix well to form a soft dough like so. Don't knead, just incorporate with fingers and bring together.

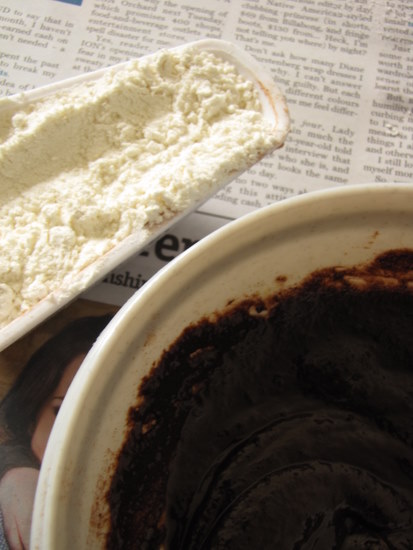
For the chocolate dough, do the same with the butter and sugar, but omit the vanilla and add 1/4 cup unsweetened cocoa powder. Mix well.

To this, add 1 and 1/4 cups all-purpose flour. If you find the dough too soft, you can add a couple of spoons of flour. I didn't have to add extra though.

Again, combine well with fingers to form a soft dough. No need to knead. Heh.

Now, refrigerate both doughs for 30 mins. Take out your book and read while you wait. If you are impatient like me, go take a nap and you won't feel the time pass.

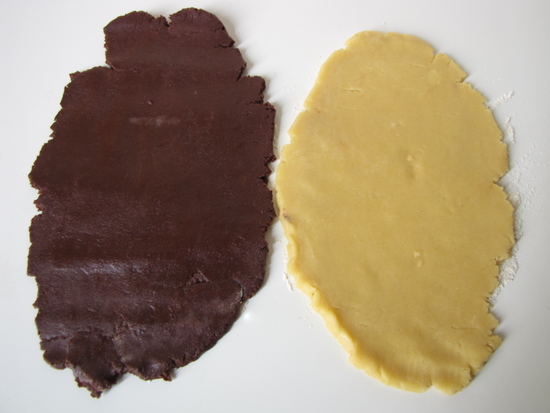
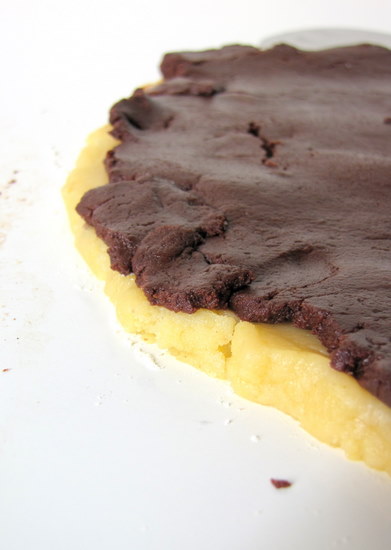
After 30 mins, take out the chilled dough, transfer to a floured surface and roll out as above. This is not going to be the easiest thing to do. I later heard that if you do the rolling between plastic sheets or butter paper, it makes things very easy. Do try that cuz in this method, there were a lot of broken pieces that I had to patch in later.

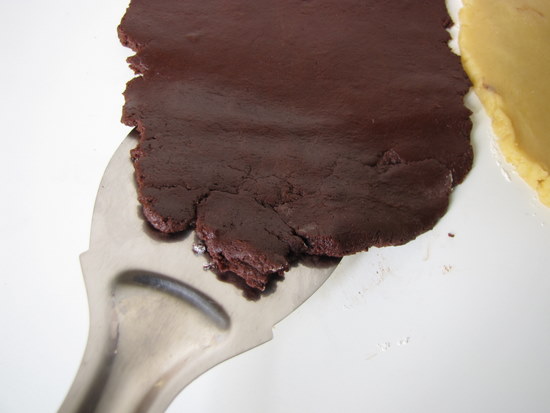
Gently transfer the chocolate layer and place it over the vanilla layer. I used a spatula - say hi to my fave steel spatula!

I know this doesn't look perfect. That's ok. Trust me on this and let's carry on.

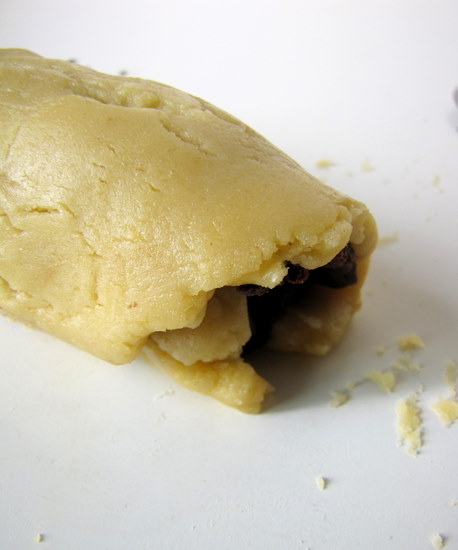
Now, roll the flour from the short end, gently, covering up as many split areas as you can. Its ok even if the layers are not ultra-smooth and imperfect. Like I said, wait for the end-result and you'll see.

SJ mentions refrigerating at this point but I was super-charged after my nap so I ignored that.

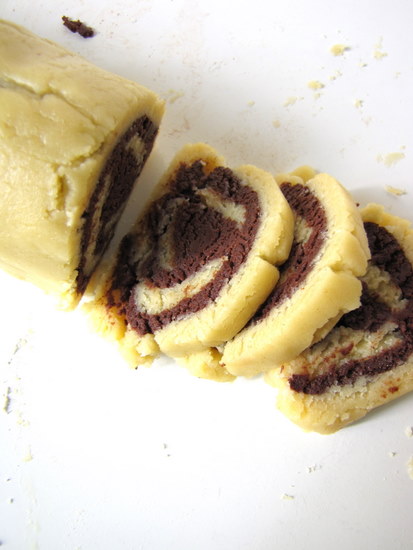
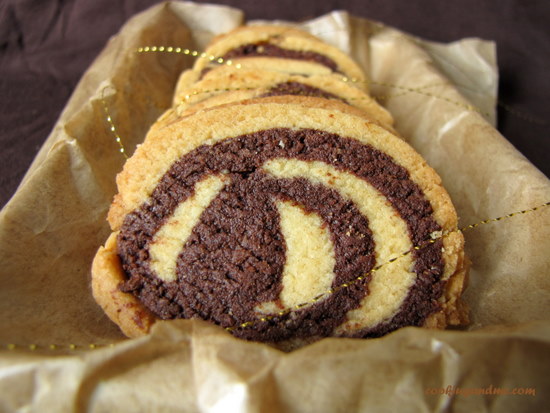
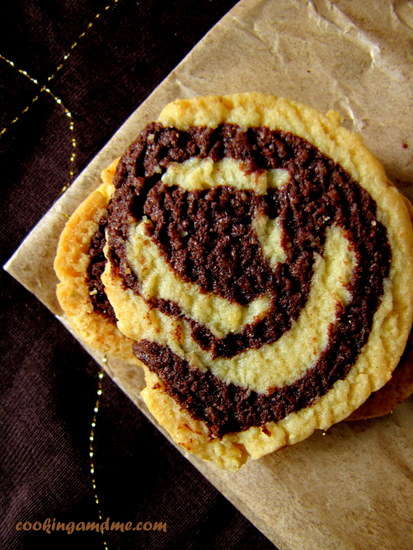
Cut gently into 1/2" discs. Look at that!!

Are they pretty or what?! I didn't use a sharp enough knife which is why the biscuit sides are not as smooth as I'd have liked them to be. Anyway, lesson learned.

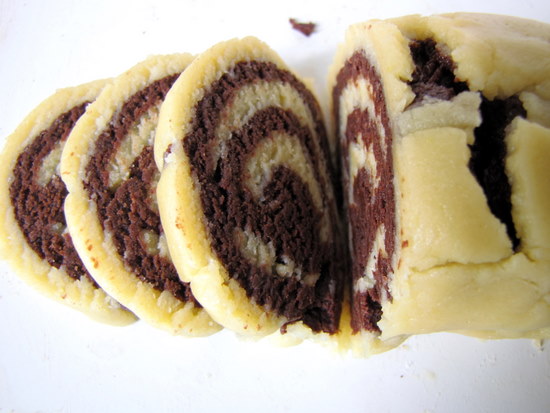
Here's another look. I couldn't get over how pretty they looked. It was almost like when I saw the Taj Mahal for the first time. Almost.

Note the huge hole on the top of my dough log. It doesn't matter. Keep cutting and ignore that. Everything will turn out fine.

Bake in a pre-heated oven at 350F/180C for 15 mins until the white part of the cookies turn a light golden brown.

Now that you ask, I have no clue how'd I find out if this cookie is done if it were all chocolate. I guess I'd go by the smell and time on original recipe as I did for my chocolate melting moments.

Here's the recipe again, all in one place.
Recipe for Spiral Cookies
Source: SJ
Makes: 28 cookies (approx.)

What I Used:

Vanilla Dough:
1 1/2 cups all purpose flour
1/2 cup unsalted butter (at room temperature)
1/2 cup sugar
1/2 egg yolk, beaten
4 drops vanilla essence
A pinch of salt

Chocolate Dough:
1 1/4 cups all purpose flour
1/2 cup unsalted butter (at room temperature)
1/2 cup sugar
1/2 egg yolk, beaten
1/4 cup unsweetened cocoa powder

How I Made It:

1. Start with the vanilla dough. Beat the until and sugar until well incorporated. Add the egg yolk, salt and vanilla essence to this. Mix again.

2. Add the flour next and mix well to form a soft dough.

3. For the chocolate dough, beat butter and sugar, add the cocoa powder and mix well without any lumps. Then add the egg yolk and mix well. Finally, add the flour and mix well to form a soft dough.

4. Refrigerate both doughs for 30 mins.

5. After 30 mins, roll out gently into flat squares (as square as you can make it). Place the chocolate layer over the vanilla layer. Roll out from the short end gently.

6. Cut into discs of 1/2" thickness and bake and transfer to a greased or lined cookie sheet.

7. Bake in a pre-heated oven at 350F/180C for 15 mins until the vanilla part turns a light golden brown. Keep an eye on the cookies starting from 10 mins, just to be on the safer side.
These cookies, my friends, will wow your friends. Guaranteed!

Eggless Chocolate Melting Moments Recipe

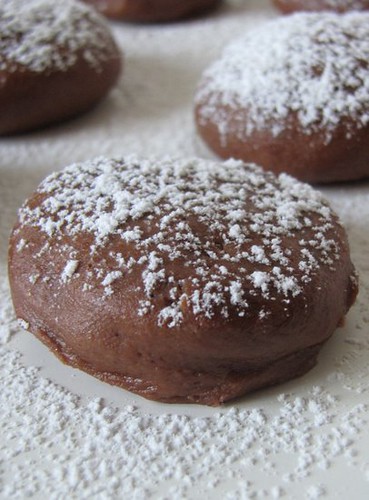
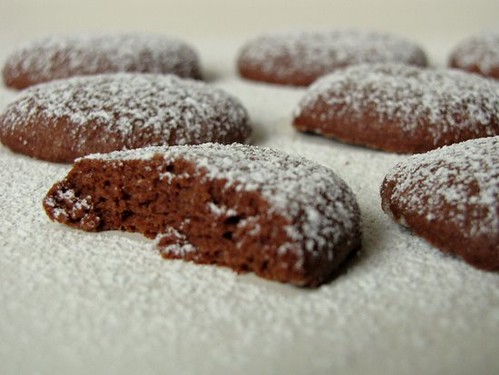
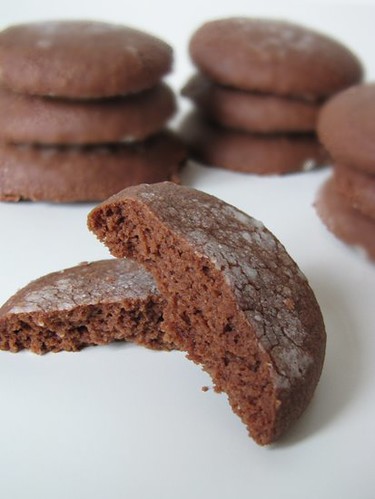
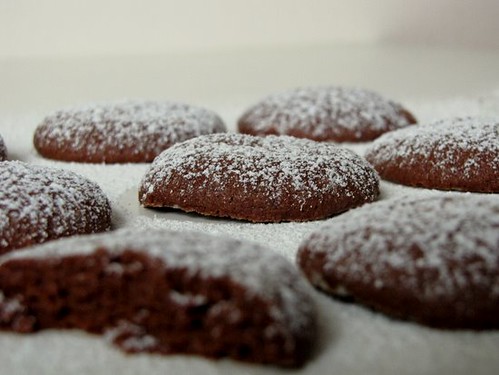
Eggless Chocolate Melting Moments RecipeHere's another easy-to-bake recipe for baking beginners, a cookie this time! Melting moments are classic cookies or biscuits that use cornflour along with normal flour for a melt-in-your-mouth texture. I added a twist to them by making it chocolate flavoured.

Eggless Chocolate Melting Moments RecipeI am sorry for not including the cup measurements. I was adding and subtracting ingredients on a hunch so my cup measurements all went out the window. You can use the culiverter tool on the bottom of the right sidebar to get measurements in cups in case you don't own a kitchen balance. Please don't let that deter the aspiring baker in you.

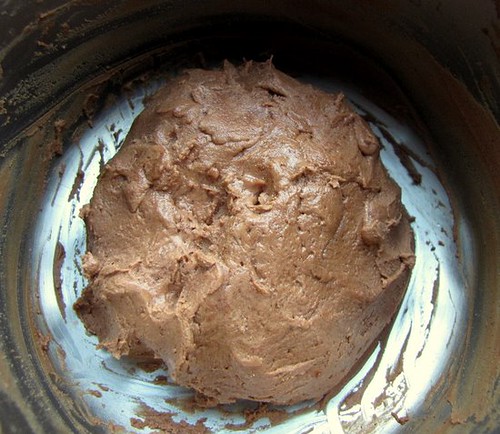
I don't have step by step pictures for this but its really not as complicated as a cake or a brownie. I do have a picture of the dough, which is not very pretty but I felt you'd like to see it.

Eggless Chocolate Melting Moments RecipeIts really simple with no complicated ingredients or steps. Not even an egg! So all you vegetarians out there, you can go for it too! Probably a good cookie to bake for easter too.

Eggless Chocolate Melting Moments Recipe

What I Used:
(makes 12)

125gm butter, at room temperature
60gm icing sugar + more for dusting
100gm plain flour / maida
25gm cornflour
20gm cocoa powder

How I Made It:

1. Beat butter and sugar using a hand beater or an electric beater on low until smooth, creamy and combined.

2. Sift the plain flour, cornflour and cocoa together into a bowl (if you don't have a sieve, just make sure you mix them well until combined).

3. Add the flour mixture little at a time to the butter mixture and mix until its all combined.

Eggless Chocolate Melting Moments Recipe
4. Make small balls with the dough and press gently. Space them a good 2 inches apart on a tray. The cookies spread while baking. I didn't need to use a baking sheet, the cookies were quite well-behaved and didn't stick to the tray at all.

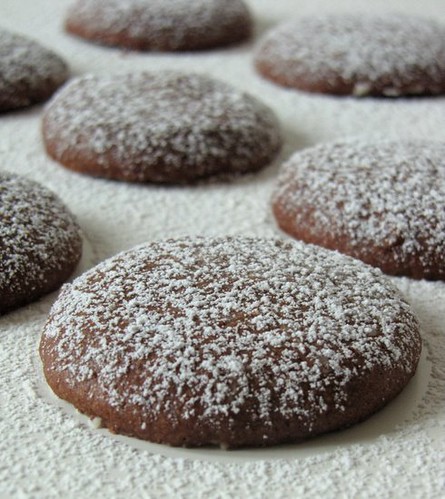
5. Bake in a preheated oven at 180 C. It took about 30 mins to bake. Let it cool completely before removing from the tray and dusting with some icing sugar. Its hard to tell when its done because of the colour but I would recommend that you check after about 20 mins, probably by taking out just one cookie, letting it cool a bit and tasting it.

Eggless Chocolate Melting Moments Recipe
Notes:

- You can store these for about 4 days in an air tight container.

- Its great to pack and send people, or to take to someone's house when you are visiting, which is what I did.

- If you want a more rounded shape for your melting moments, shape into balls and don't flatten. The cookies flatten as they bake so the rounder you start off, the more rounded the end result. I wanted flat ones, so I flattened the dough a bit.

This pic was taken 4 days after I made them. Still pretty and tasty, I can tell you ;)

Eggless Chocolate Melting Moments Recipe